
I finally decided it was time to setup a proper home lab for threat research / hunting and tool exploration instead of using virtual options on my computer or in AWS that I have to tear down ever so often due to cost. I must say that I’m not an expert when it comes to choosing the actual computer hardware so I did a lot of research, spoke to colleagues and mostly turned to my husband for help. My initial thought was to look for a second hand laptop but what I saw in the EU market turned out to be expensive for a used option. I also looked into buying old server gear but I was scared of the power utilisation. Eventually, I settled on assembling a new desktop computer. When it’s all said and done, my solution is mostly based on cost, power efficiency, noise level and the fact that I might end up running ESXi as my hypervisor of choice.
This is the first time I will be using an AMD CPU so I had to research articles on people using VMware ESXi home lab on AMD processors which turned out to be very few as VMware does not officially support AMD at this time. I did manage to find a couple of folks that had it working in their labs so I hope all will be well.
This is what I ended up with:
| Motherboard | AORUS X570 PRO (Rev 1.2), socket AM4 Opted for this motherboard because it has an onboard INTEL NIC. It also supports pass through. |
| CPU | AMD Ryzen 9 3900X socket AM4 12 core processor I first thought of getting Xeon Processor E5-2650L v3 – 12 cores but opted for newer model of AMD due to the price/performance ratio, its power efficiency and the fact that it works with ESXi |
| Memory | Corsair 64 GB DDR4-3200 Kit I have a total of 4 memory slots giving me a maximum of 128 GB RAM. To start with, I am only using 2 slots of 32GB each (64 GB RAM). This should be more than enough for the VMs I plan on housing. In addition, there is no support for ECC that allows for error detection. I opted out of that because of cost considerations seeing that this is a lab. May need to upgrade in future. |
| SSD | Samsung 970 EVO PLUS M.2 1TB Not much of a brainer here. I have a similar one on NUC and it works with no issues. It also has good reviews so bought it for my lab. The rest of the storage will be provided by the NAS that I plan on building a little later. |
| Power Supply | be quiet! Pure Power 11 400W CM My main concern was power efficiency as I did not want to incur unnecessary power bills. The power supply we chose had to be quiet. Our current configuration allows for up to 500Watts which is more than enough for the use that I have. |
| Case | be quiet! SILENT BASE 802 Window tower Chose this case based on reviews. It is rather quiet, allows for up to 7 HDDs for NAS storage and 3 big fans. |
| USB Stick | SanDisk Ultra Fit 64GB This is just to house the ESXi (or maybe Proxmox). It is very compact and that is why I chose it. |
| GPU | Gigabyte GeForce GT 710 Silent 2GB GDDR5 Graphics Card GV-N710D5SL-2G I am not a gamer so I needed a simple graphics card. |
The Build Process
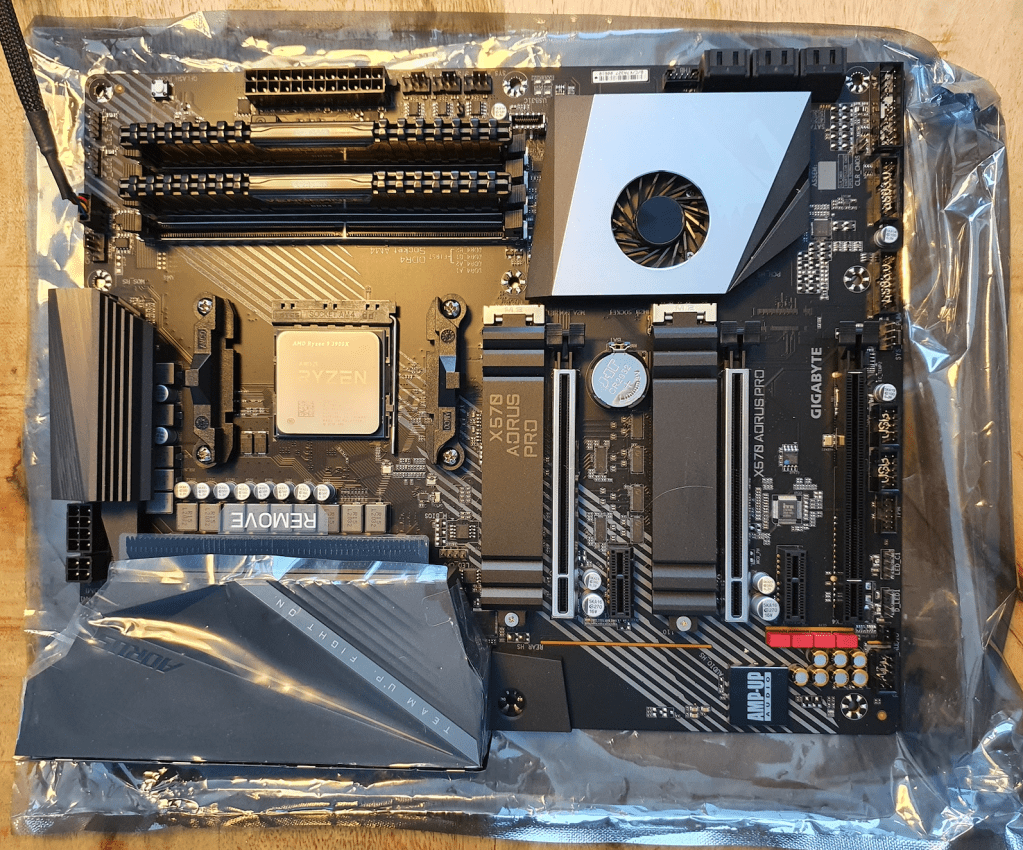
Started off with installing the 2 32 GB memory slots, the AMD CPU then the SSD.
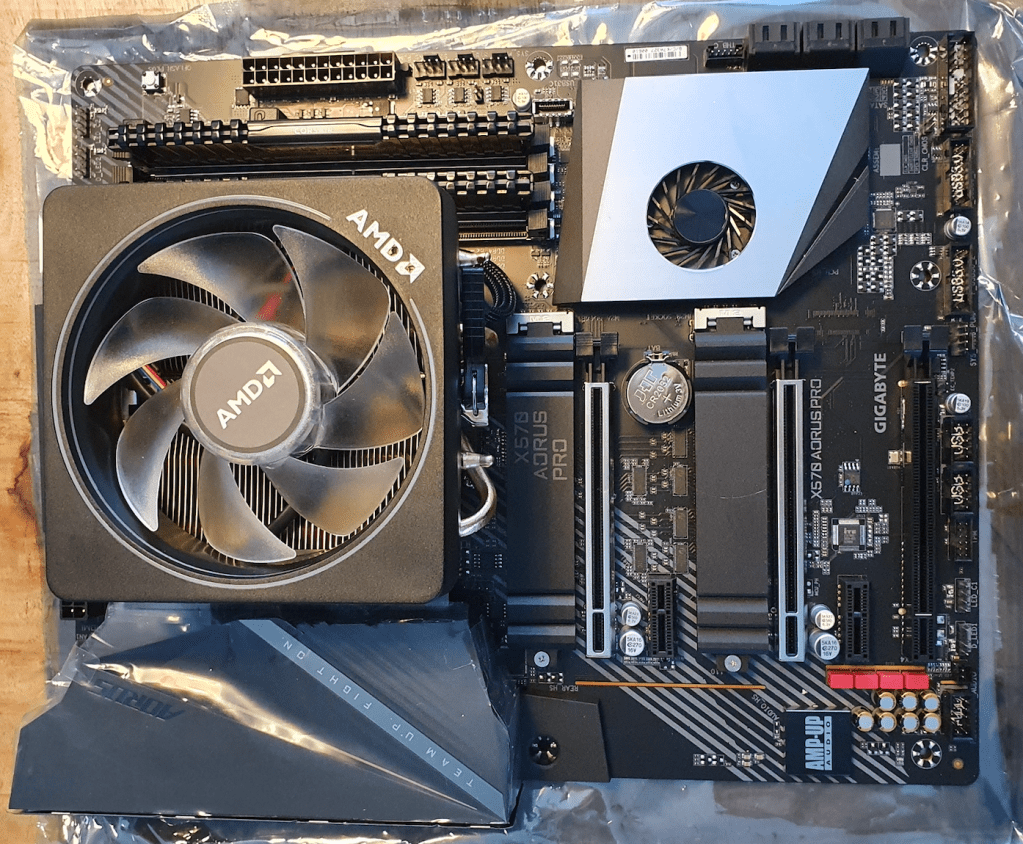
Next came the CPU cooler
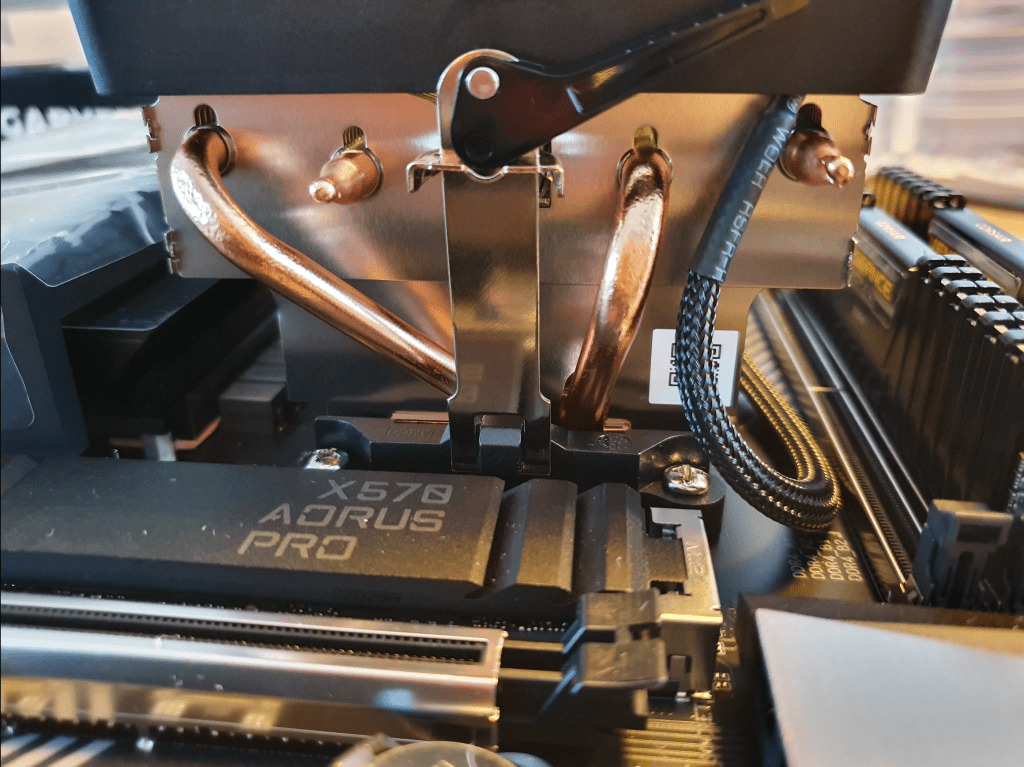
Has to make sure it was properly clipped.
Installed the power supply to the bottom of the case (not visible) then added the assembled motherboard.
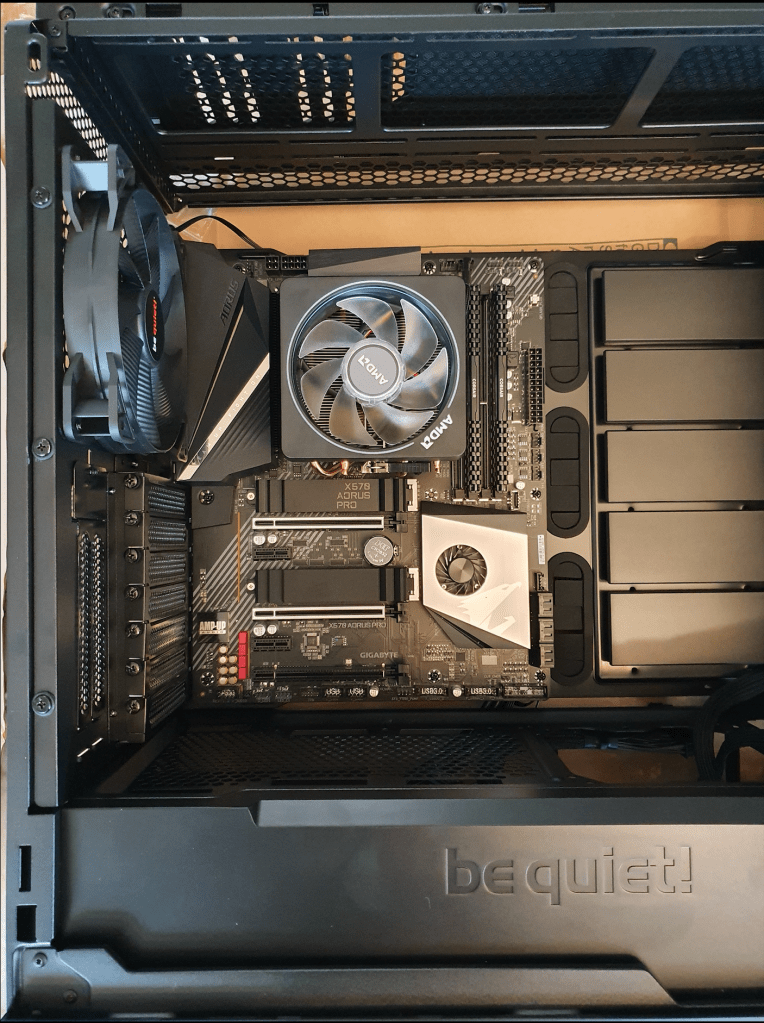
Finally, connected the cables, Inserted the graphics card and powered on the desktop to verify all was working as expected.
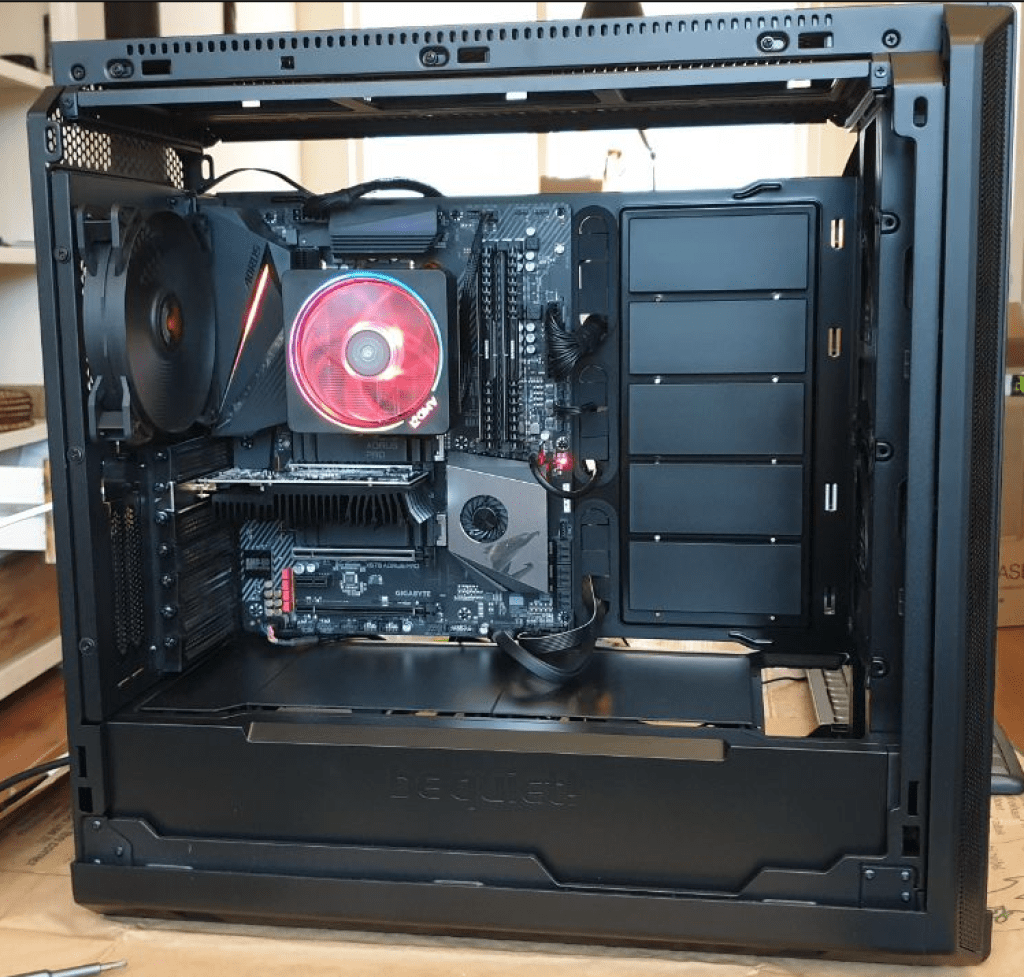
Lastly, did proper cable management, closed off the case and upgraded the BIOS!
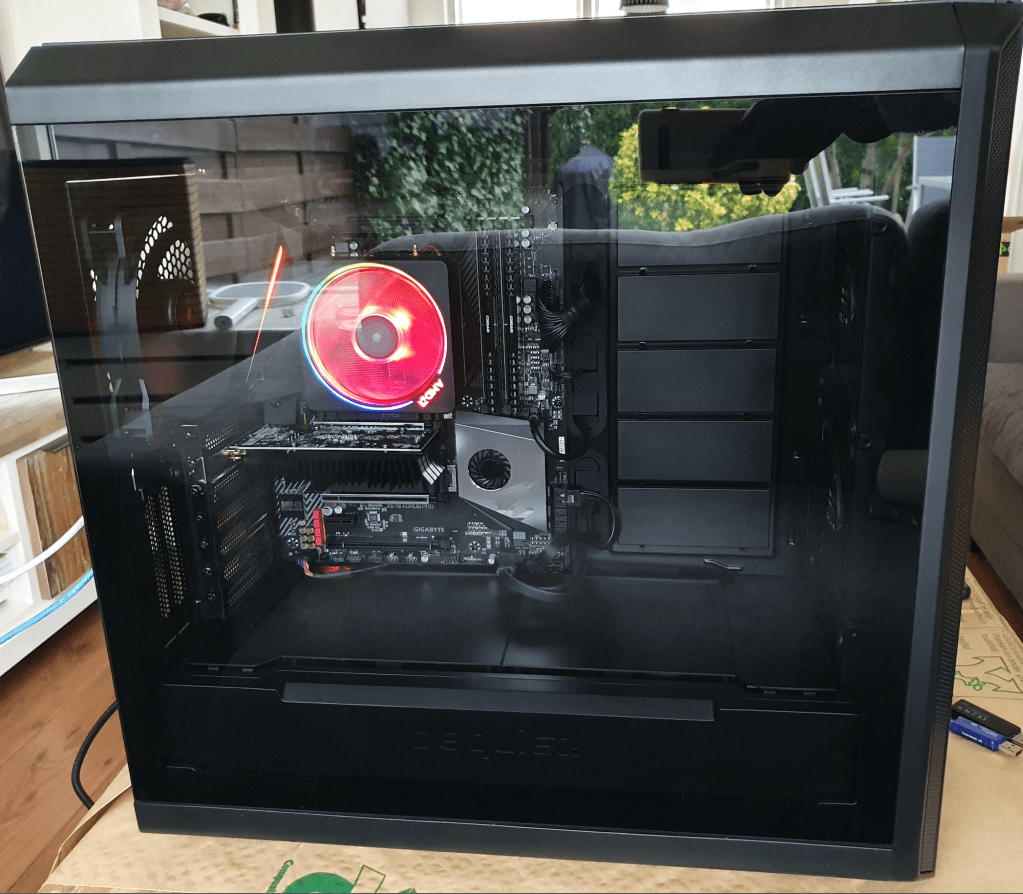
Next, I’ll be designing the network topology. Until then, Adios!

Wish you also put the prices…
LikeLike
I did not write the prices but if you navigate to the hyperlinks for the items, you will see the cost in Euros.
LikeLike