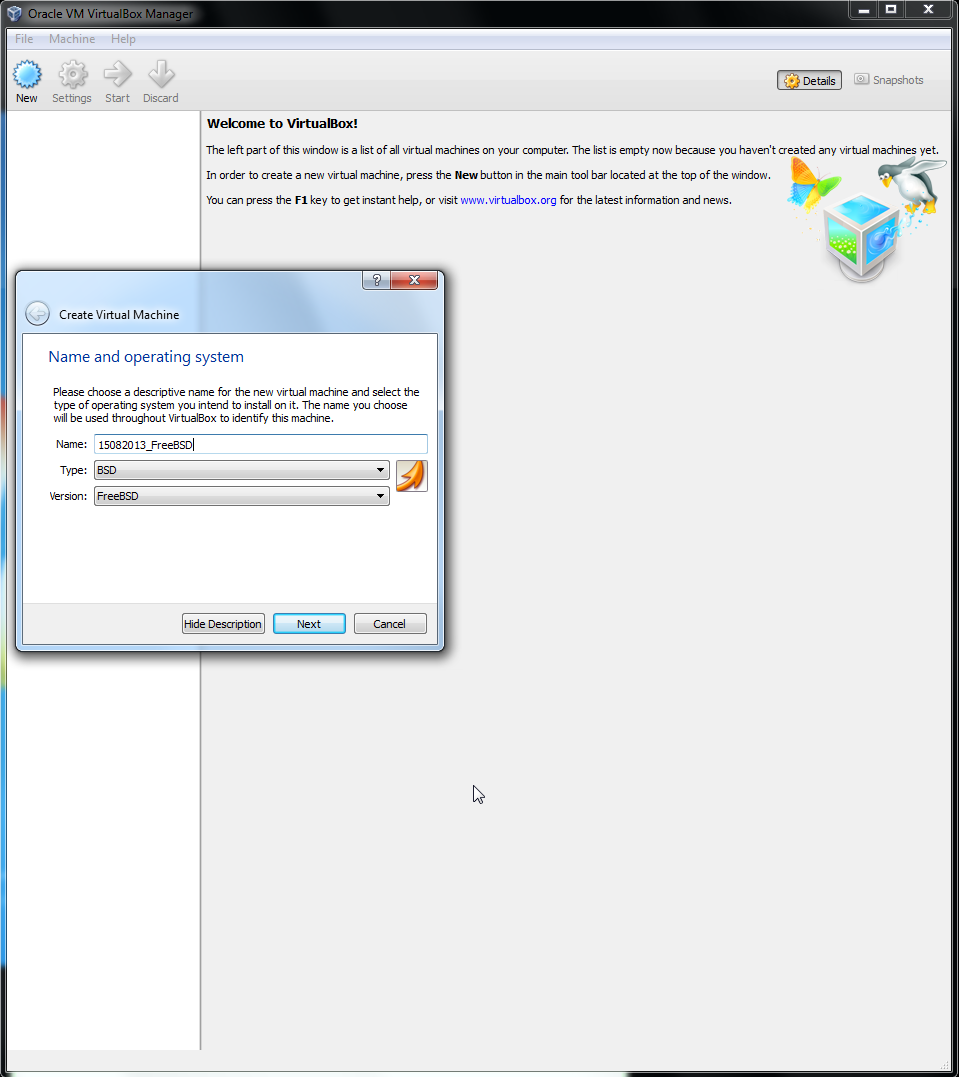
For this Installation, we will use FreeBSD version 4.11 that is readily available from the FreeBSD ftp server
We start off by creating a virtual Machine that will use the FreeBSD OS.
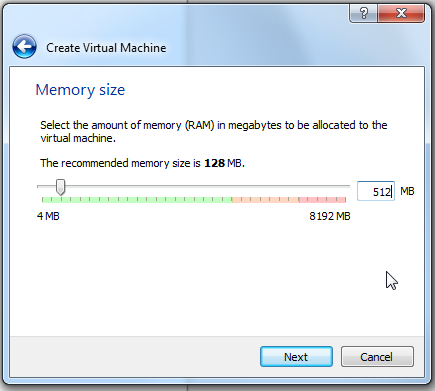
We will go with a standard memory of 512 MB
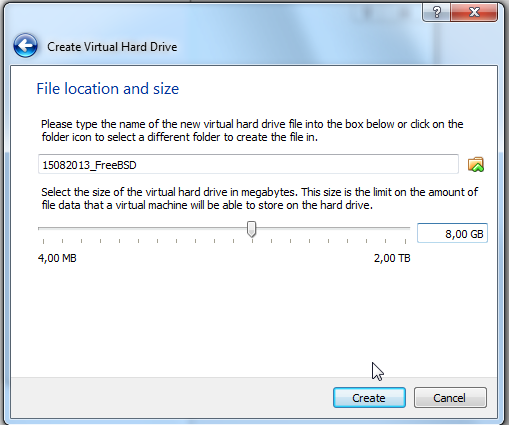
We will create a 8G Virtual HardDrive
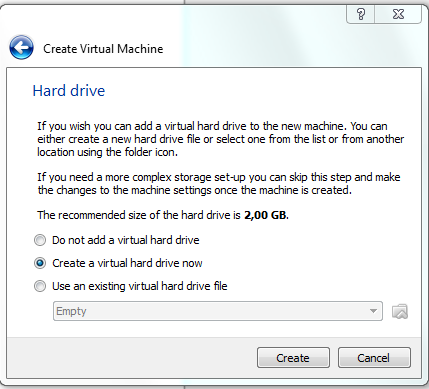
We will choose a fixed size harddisk

The allocated size is 8GB
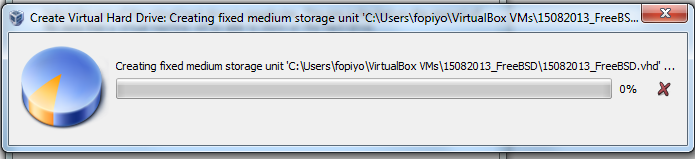
The HardDisk will take some time to create. Patience Pays 🙂
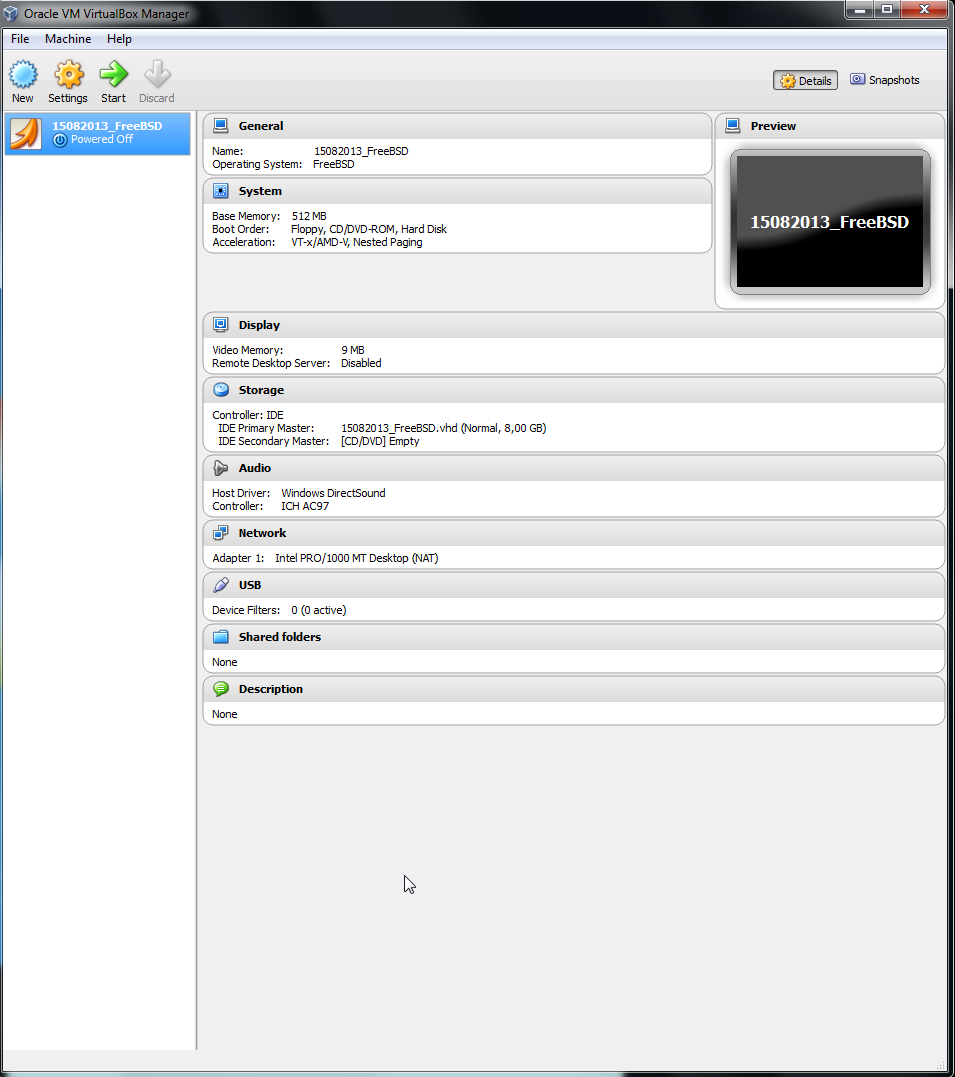
Once the Virtual Machine has been created, we are taken back to VirtualBox interface
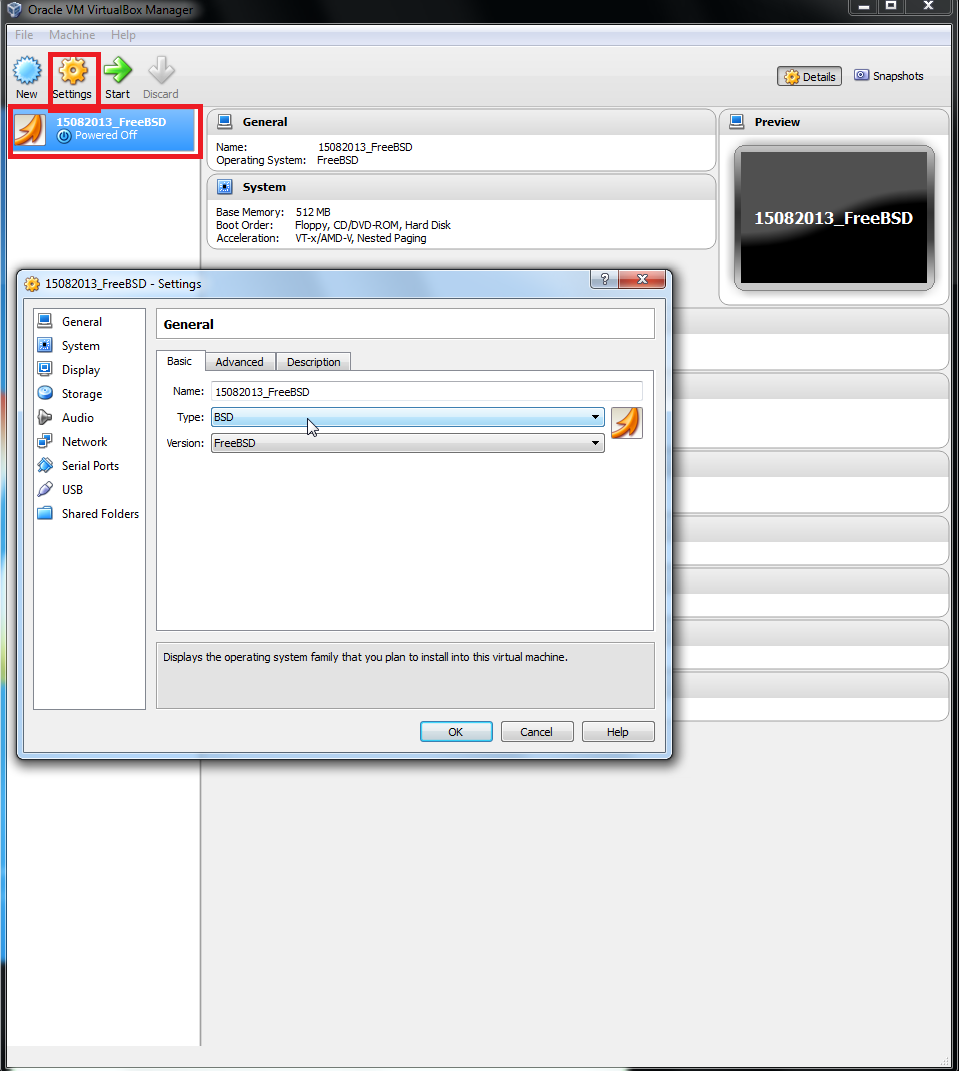
Select the created machine so that we can make changes to it’s setting. Click on Settings
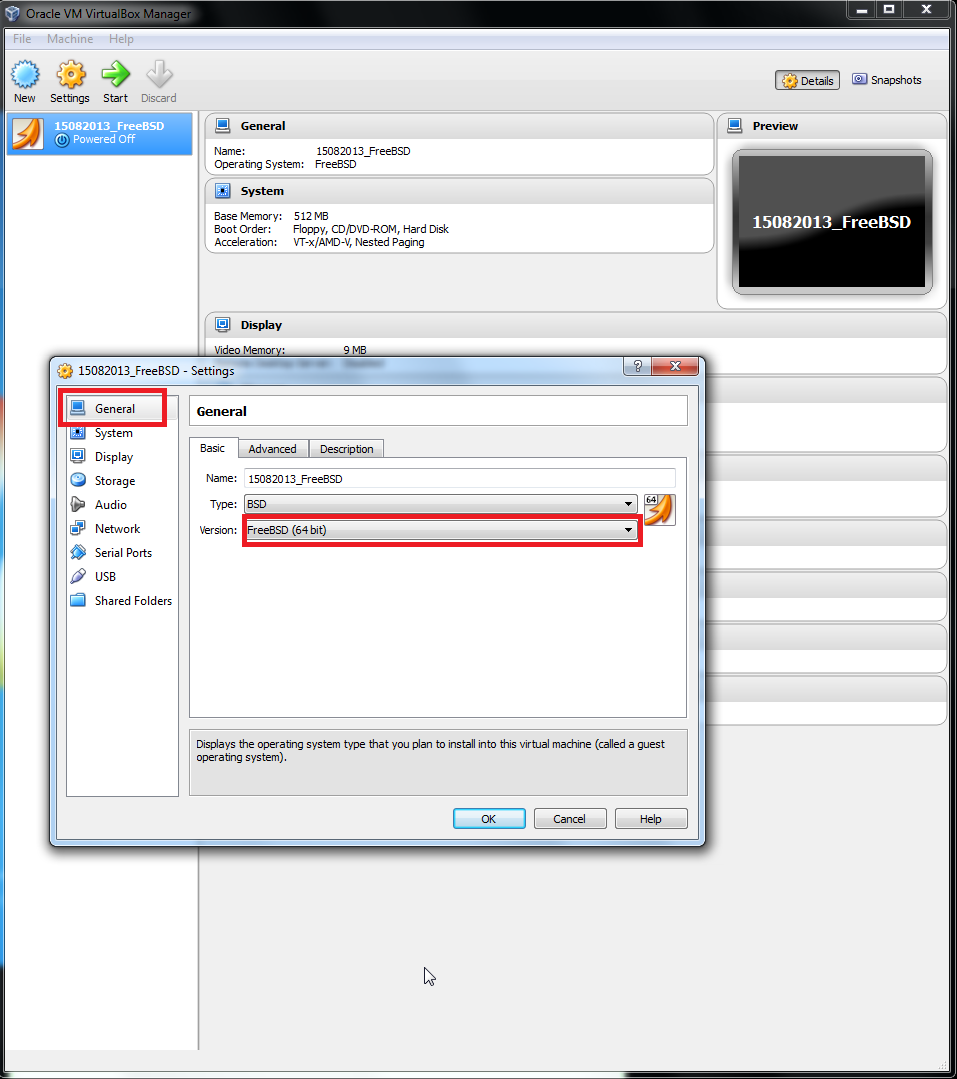
Oops1 I forgot to indicate that we are using the 64bit machine. But not all is lost :). Lets correct that.
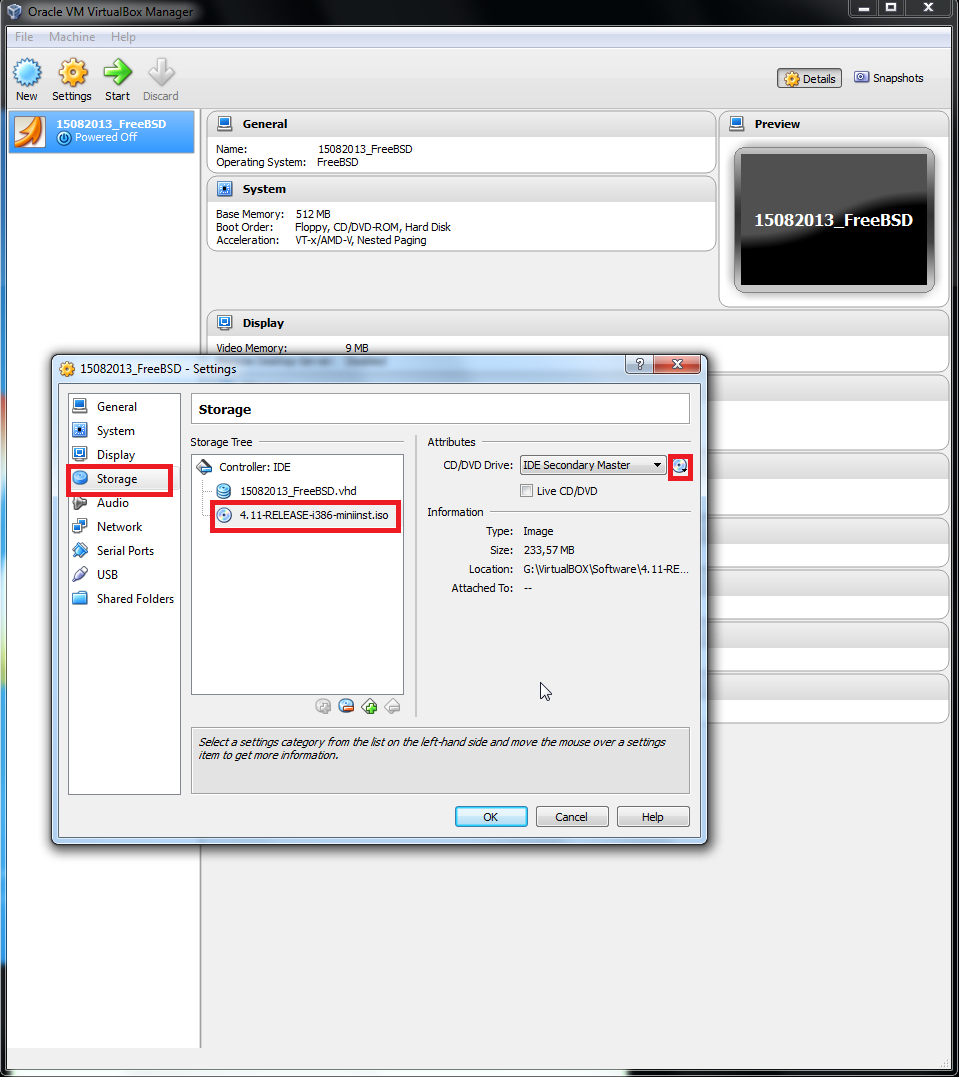
Lets add the ISO image. We need to show the path to the image
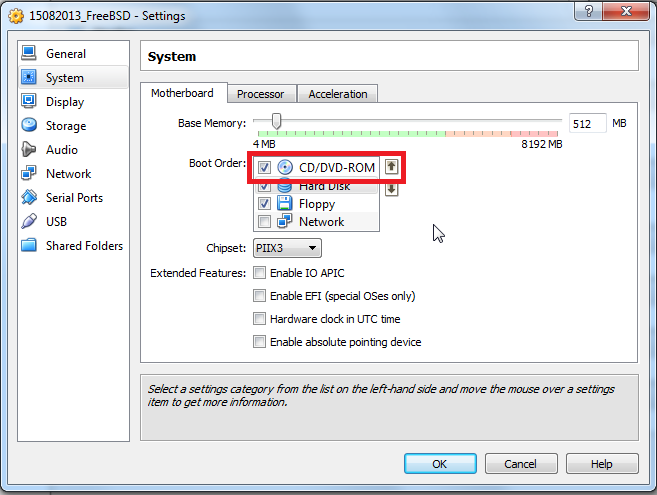
Change the boot process to start with CD
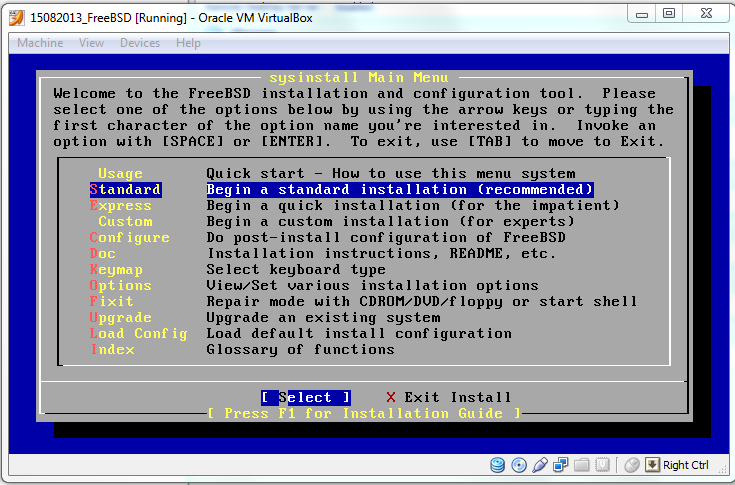
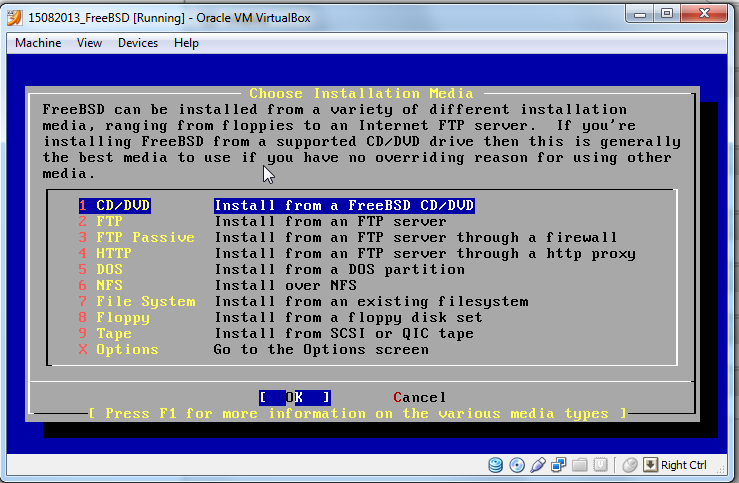
Start the machine but skip kernel configuration. we choose the standard installation process
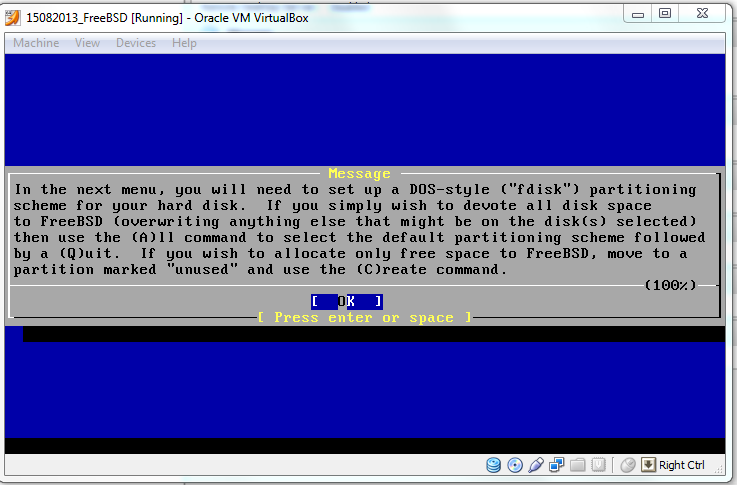
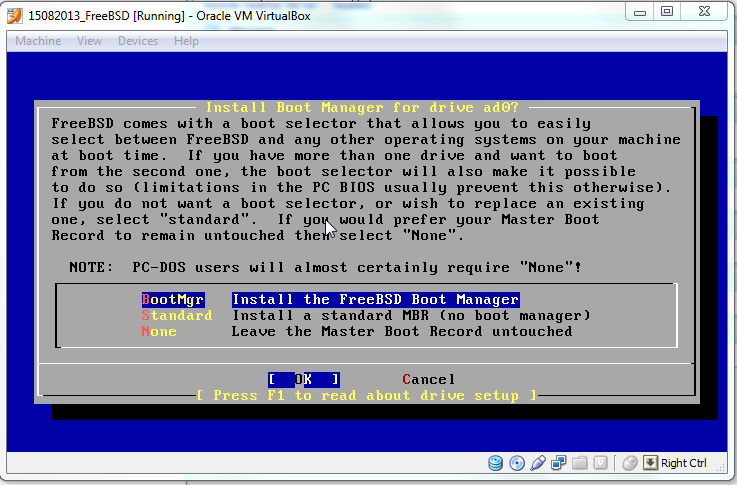
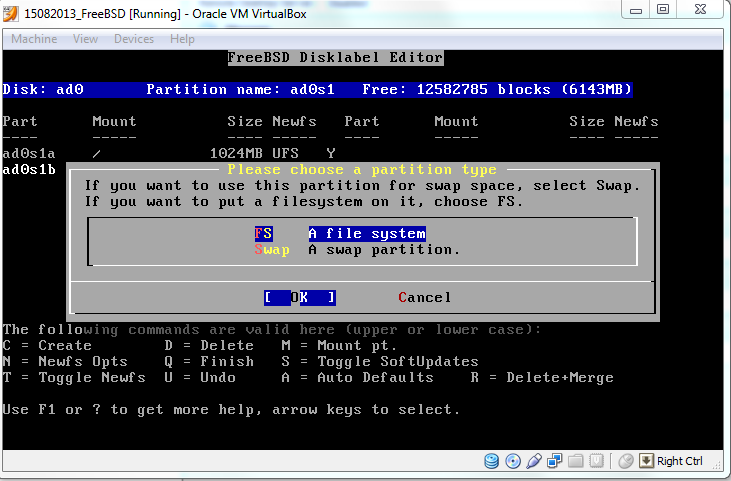
Next, we need to create fdisk. Hit A to use the entire disk then Q to exit. Next we Install BootManager
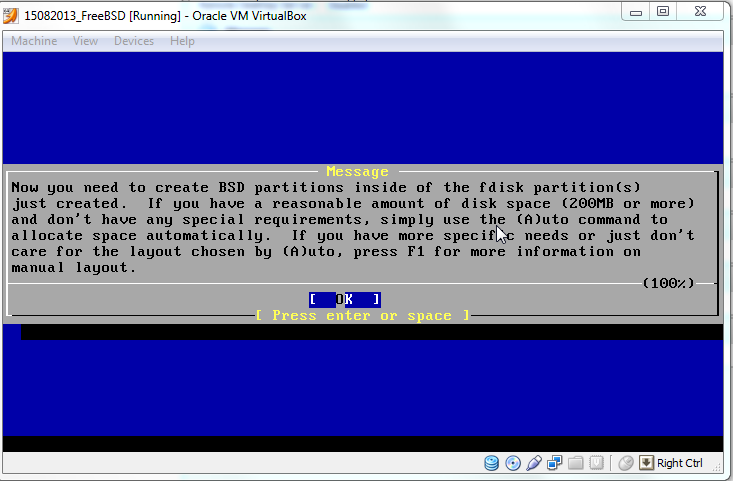
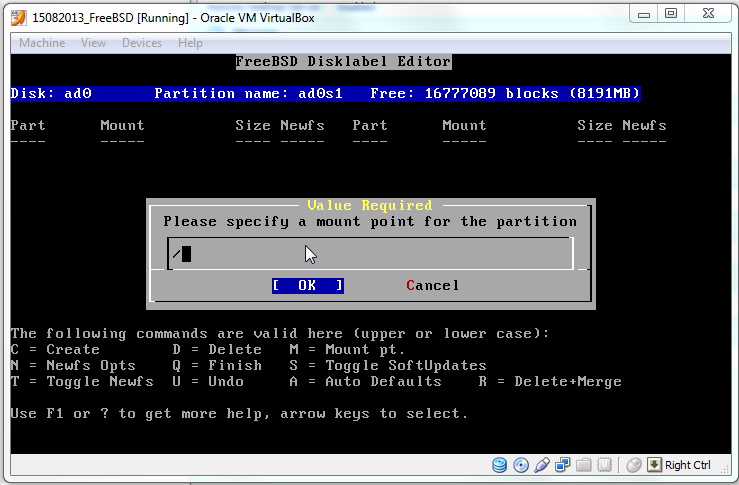
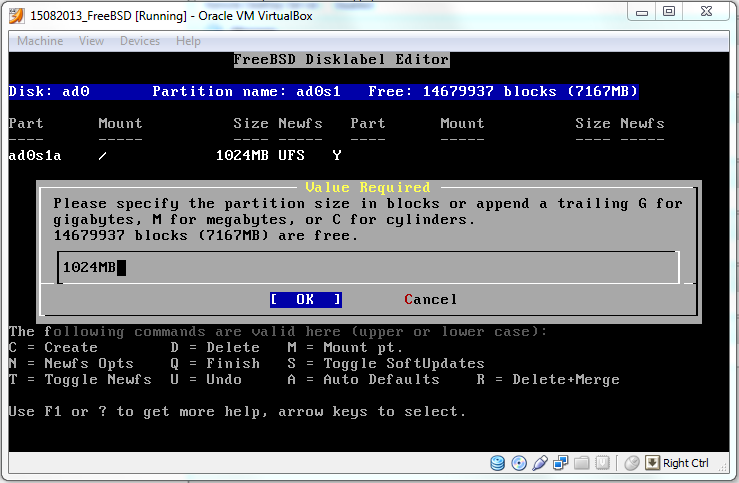
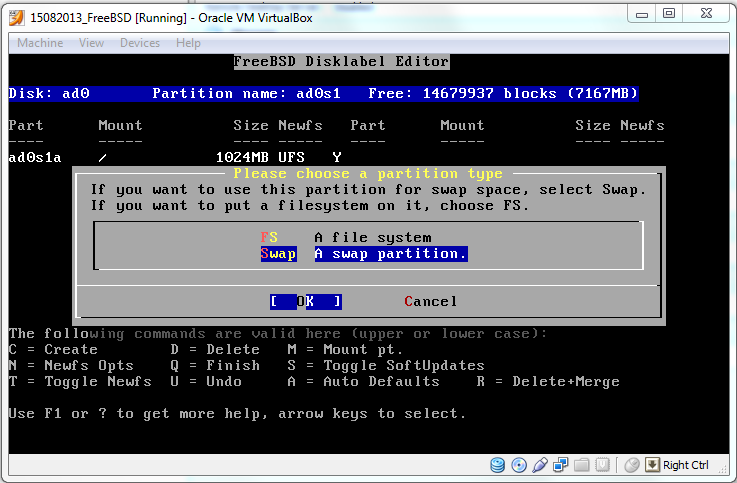
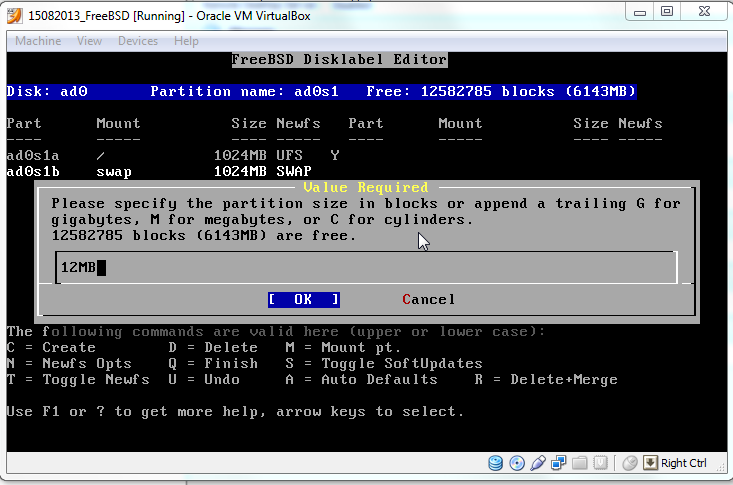
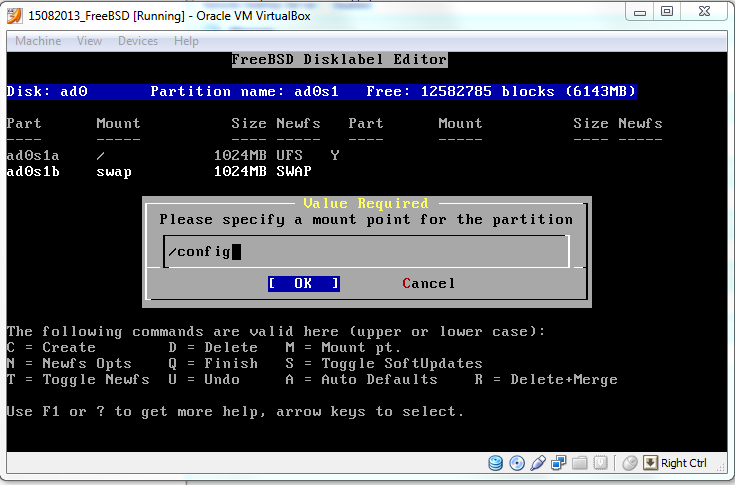
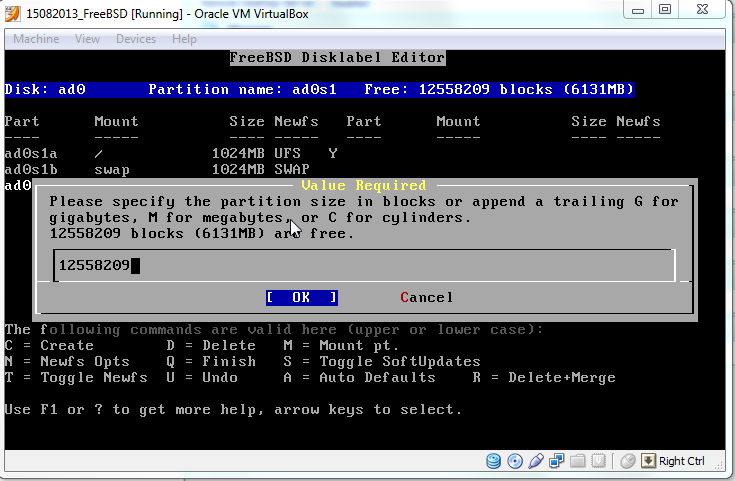
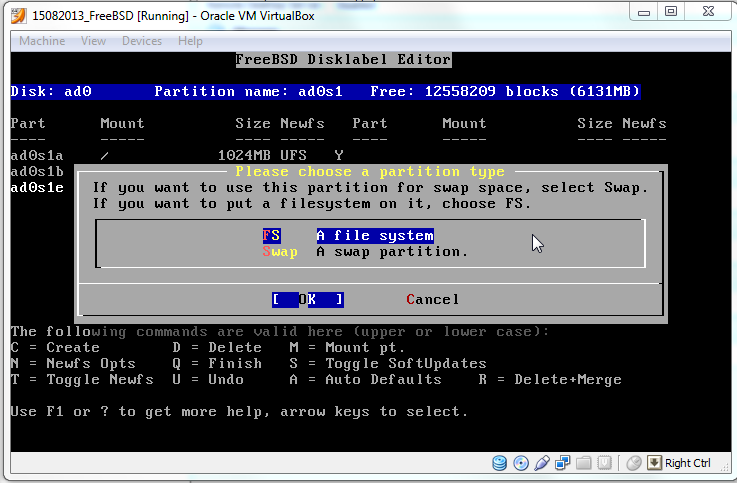
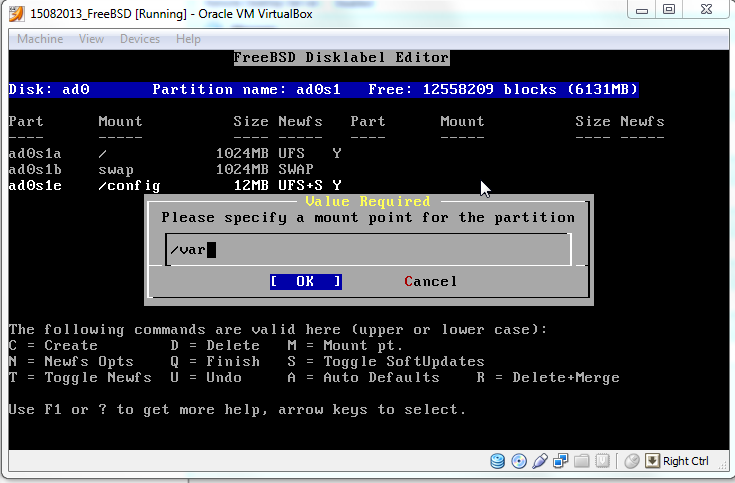
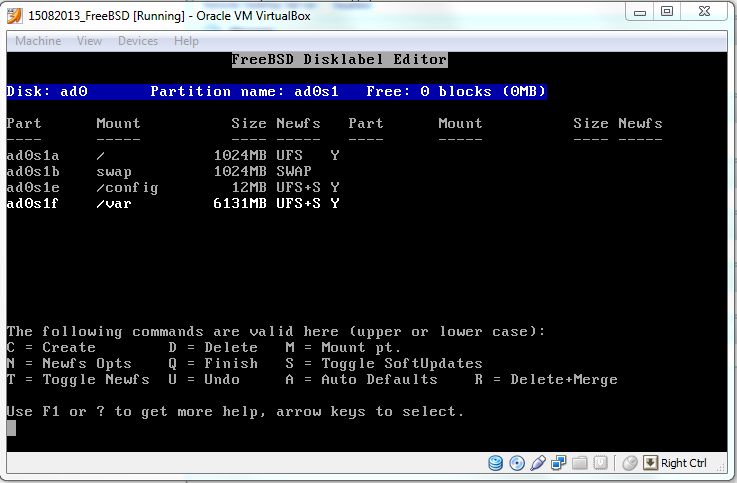
We need to partition the disk as shown below. Use C to create the partitions
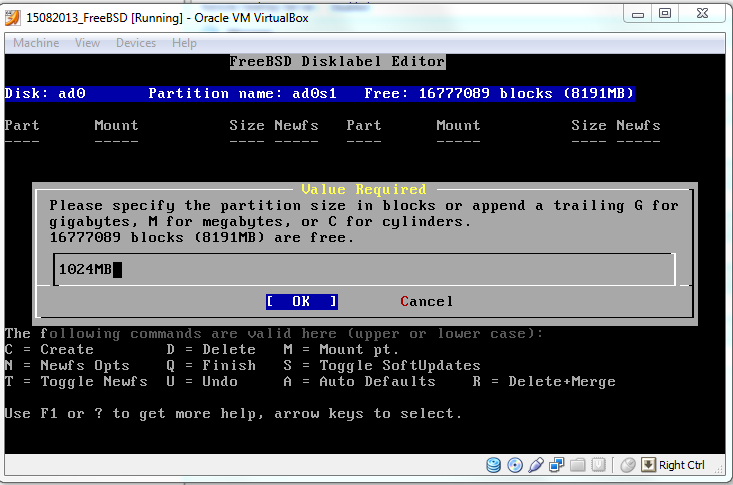

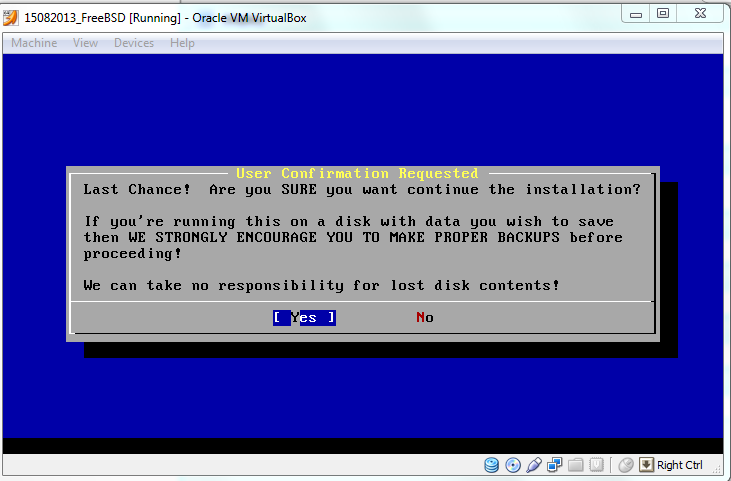
Q to Finish the setup. This is what we have so far 🙂
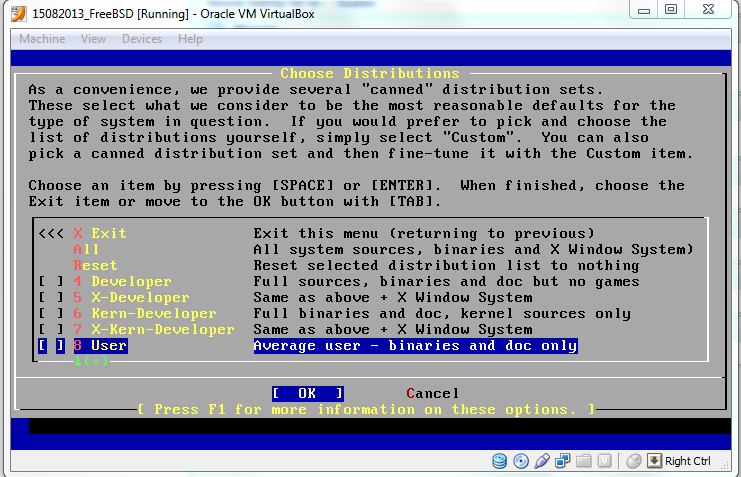
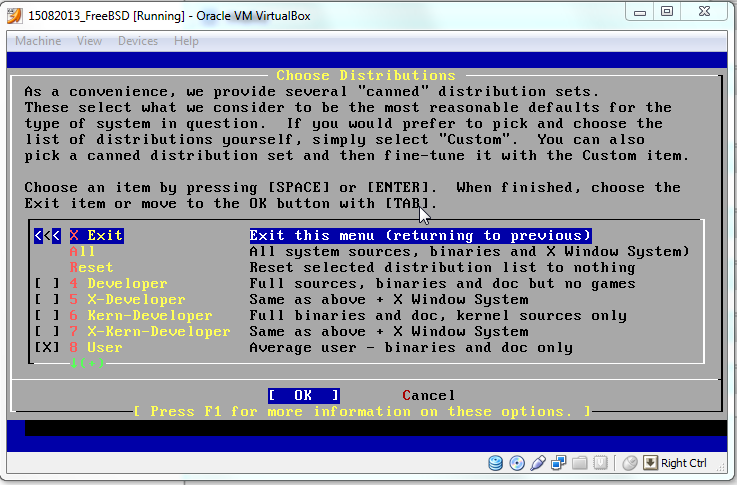
We will set distribution to User
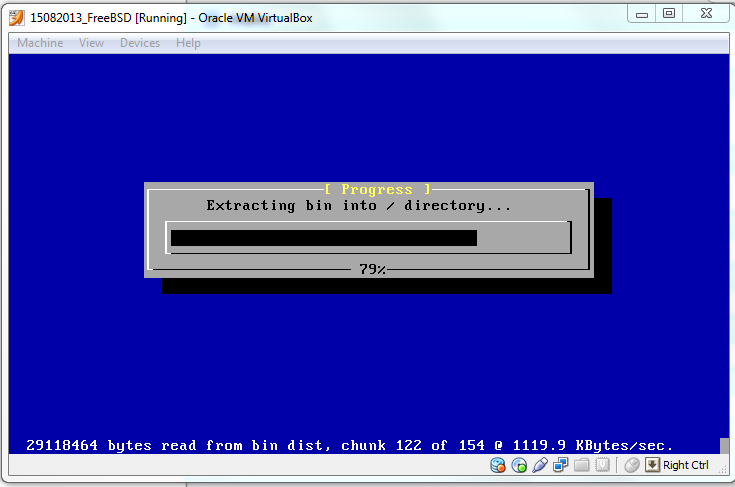
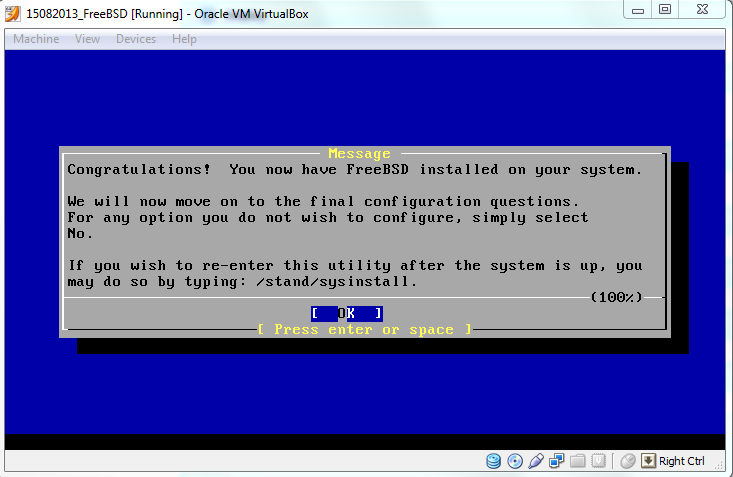
Installation complete. Am not really sure about the post installation features…lets just try activating minimal for now

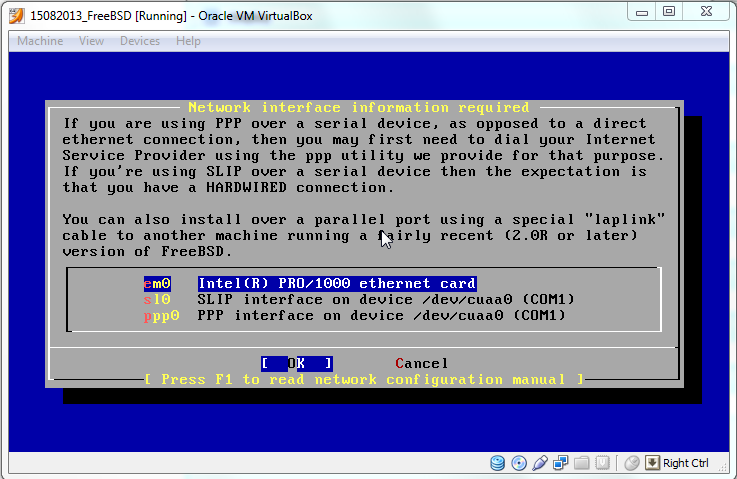
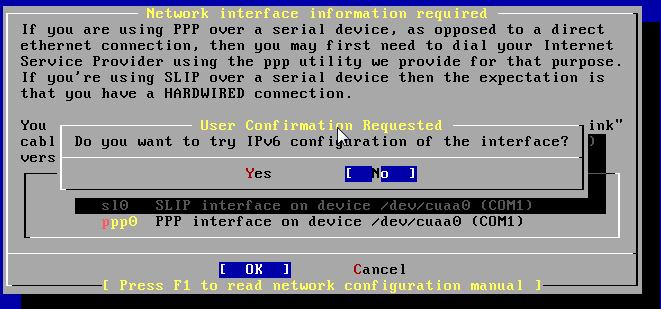
For some reason, I guess its necessary to have an ethernet interface.
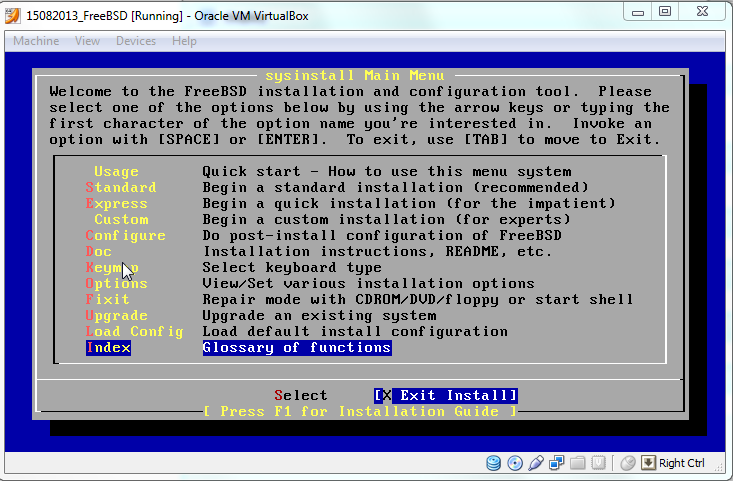
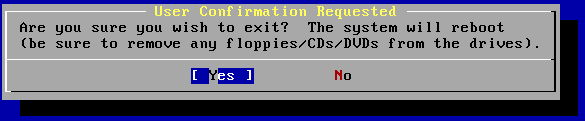
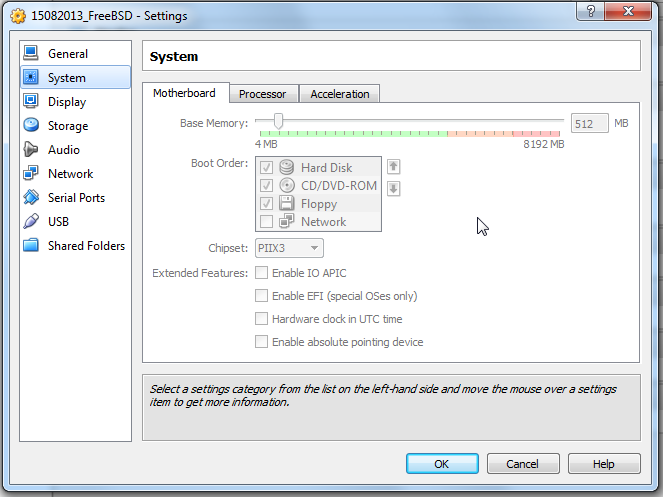
We need to Exit Install. Then switch the machine off. Change the boot order so that it starts with the HardDisk and not the CD…and we done
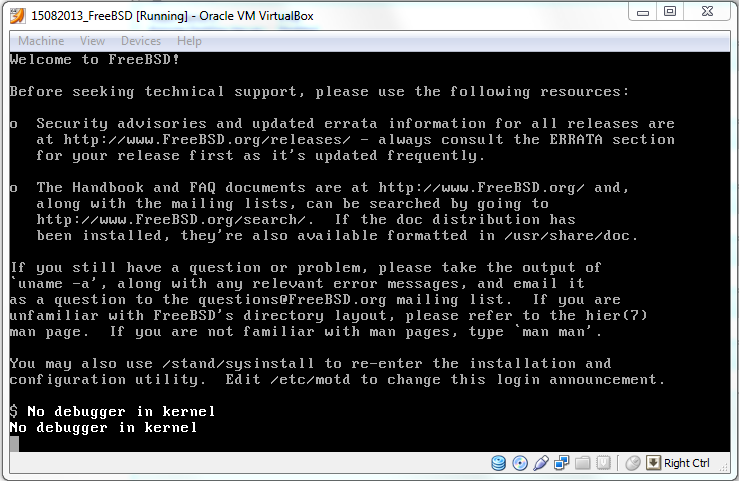
You will be required to provide the login and password that we created during installation.
Power off the machine. Forgot to modify some changes.
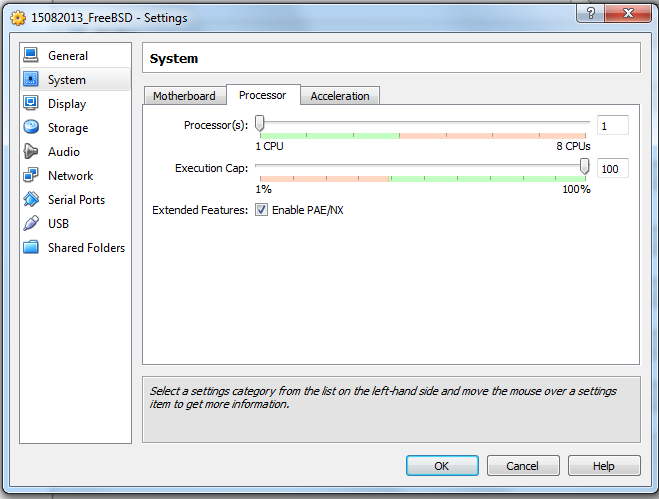
Enable extended processor features:
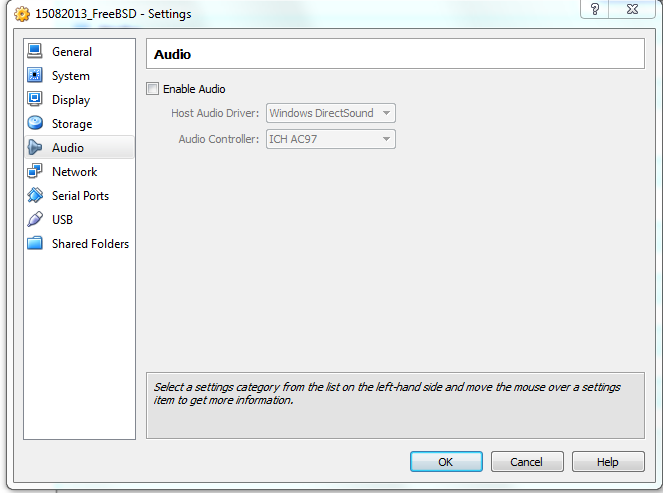
Disable Audio
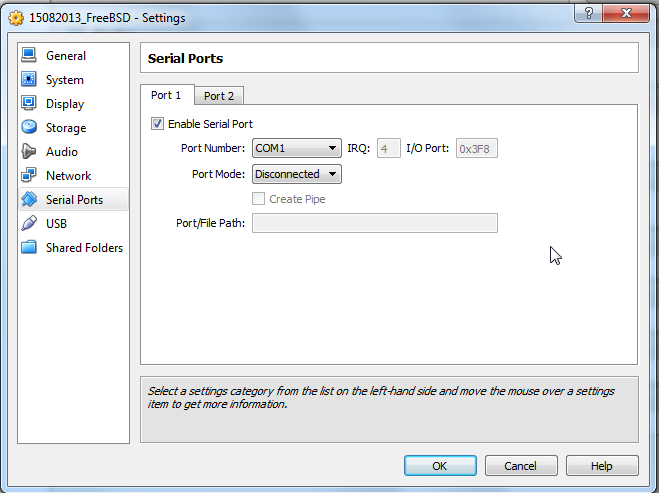
Enable Serial Ports
We done 🙂
